SkyCam Project (June 2010)
For a long time, I've wanted to have an all-sky camera. Late last year, I came across this link to a project that used a high sensitivity surveillance video camera. At that time, "high sensitivity" meant 0.01 lux. This appealed to me so I set about building my own and discovered that a newer model of this camera has even higher sensitivity, 0.001 lux. Well, I'm not sure we can trust these manufacturer ratings but probably the new one is more sensitive.
Besides checking to see if the sky is clear when using my observatory remotely, I also hope to record meteor showers with it. The software that comes with the Video-to-USB2 adapter can take either JPEG snapshots or record MPEG video clips but it is pathetic when the sky is clear. However, there is an excellent software application, AstroVideo, that is much more powerful and very affordable.
At the end of this page there is a complete parts list with prices and some notes for anyone who wishes to duplicate the SkyCam.
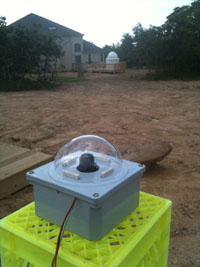
Here's a photo of the assembled camera during field testing. Everything works really well and I have a 4" square mailbox post and bracket that it will be mounted on soon.
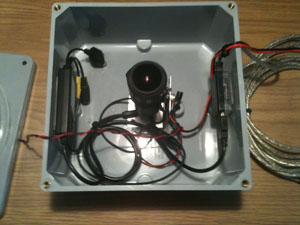
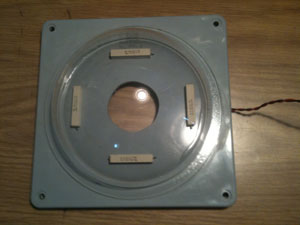
The PVC box seals hermetically with a rubber gasket and is intended for outdoor electrical systems. 12 VDC power (red/black wiring to right) runs the camera and also a set of resistors for dew prevention. You can use a 500 ma wall wart but I prefer the deep cycle marine battery that operates my observatory. Inside, you can see the video camera with its fish-eye lens at the center, to the left is a video-to-USB adapter and to the right is a USB extender cable. The camera is mounted on a piece of aluminum bent to an "L" shape and attachd to the bottom of the box. Before closing up the box, I plan to put in a few bags of dessicant.
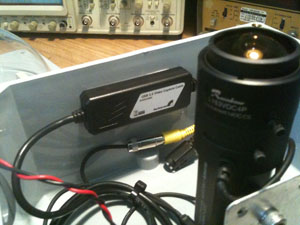
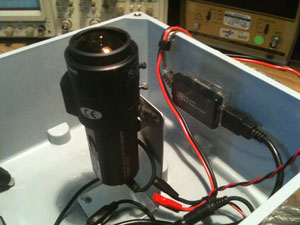
The Video-to-USB adapter is seen in the left photo as well as a close up of the fish-eye lens. On the opposite wall is the USB2 extender. I used this mainly because I have a bunch of them laying around and the USB connector box is good for securing the cable. All parts are mounted with double sided sticky tape. Last is the box cover which has a clear plastic dome glued to the top and the four 100 ohm 5 watt resistors wired in series-parallel to generate a bit of heat. The resistors' leads run through small holes in the cover and are wired on the underside. The power cable and USB cable leave the box through a slot filed in the side that just fits the cables and can be sealed with some caulk.
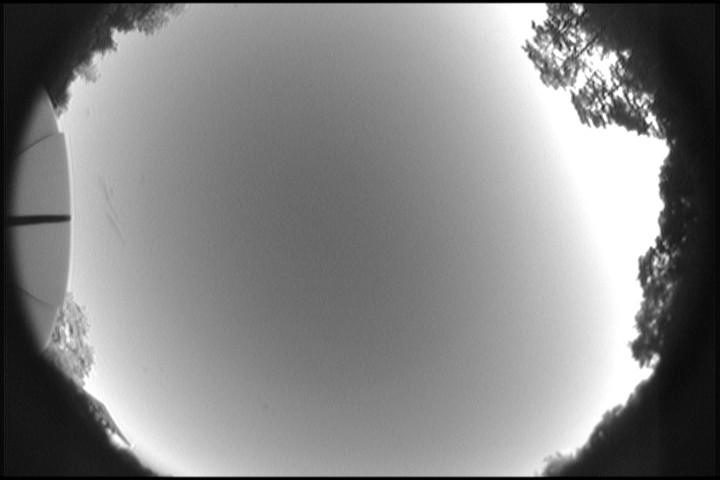
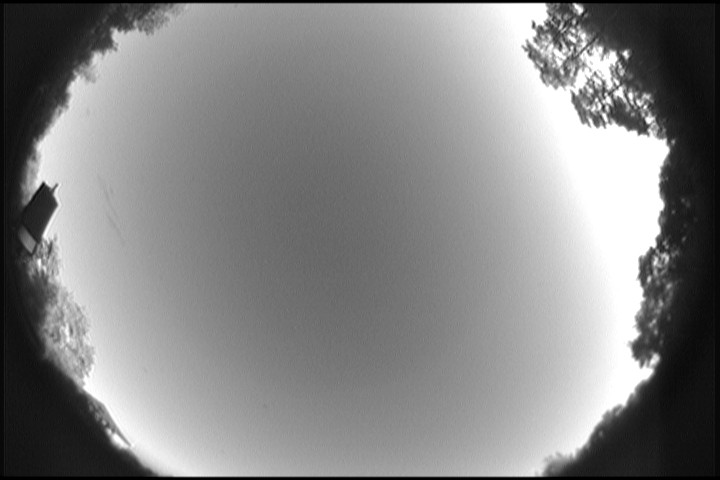
Here's a few shots from the SkyCam using the supplied software, GrabBee. The fish-eye lens has South at the bottom, North at the top, East to the left and West to the right. The first two were taken just after sunset with the clamshell open in one photo and closed in the other. The clamshell is due east of the SkyCam, this allows me to see that the clamshell is completely open or closed and whether or not snow is covering it. You can see my 16" RCOS sticking out in the second photo
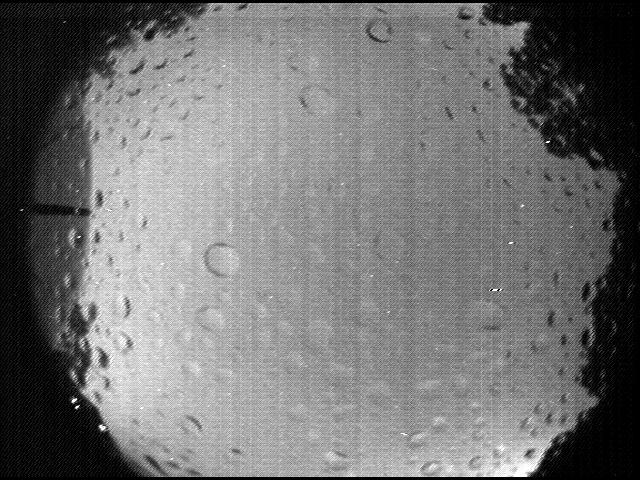
Here's a shot after dark with rain and totally overcast skies.
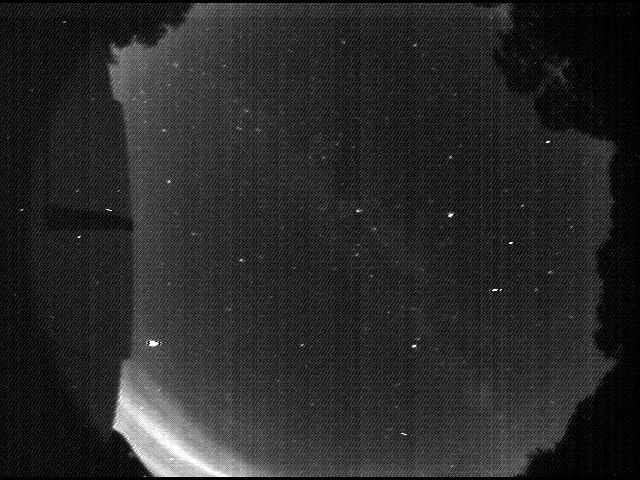
Here's a shot after dark on a totally clear night. You can see the Milky Way and just make out the Great Rift. The Moon is just about to rise and is illuminating clouds on the horizon to the lower left. This is an integration of 512 video frames taken with AstroVideo. The advantage of this software is that you can integrate any number of frames when creating an image, which will greatly improve the signal-to-noise ratio allowing you to see fainter stars. You can tell it how many such images to take and it has a "Dark Subtract" feature that lets you remove hot pixels (haven't used that yet). Flats can also be made but making them for this camera is nearly impossible. It has scripting capability and numerous processing features. I heartily recommend it.
The parts list and prices are as follows:
Total cost about $450.
A couple of notes for builders:
Good building!
Steve...